How to make a TINY DESK AI video
From picking the right portrait to casting your band. A practical guide to preparing your first session.
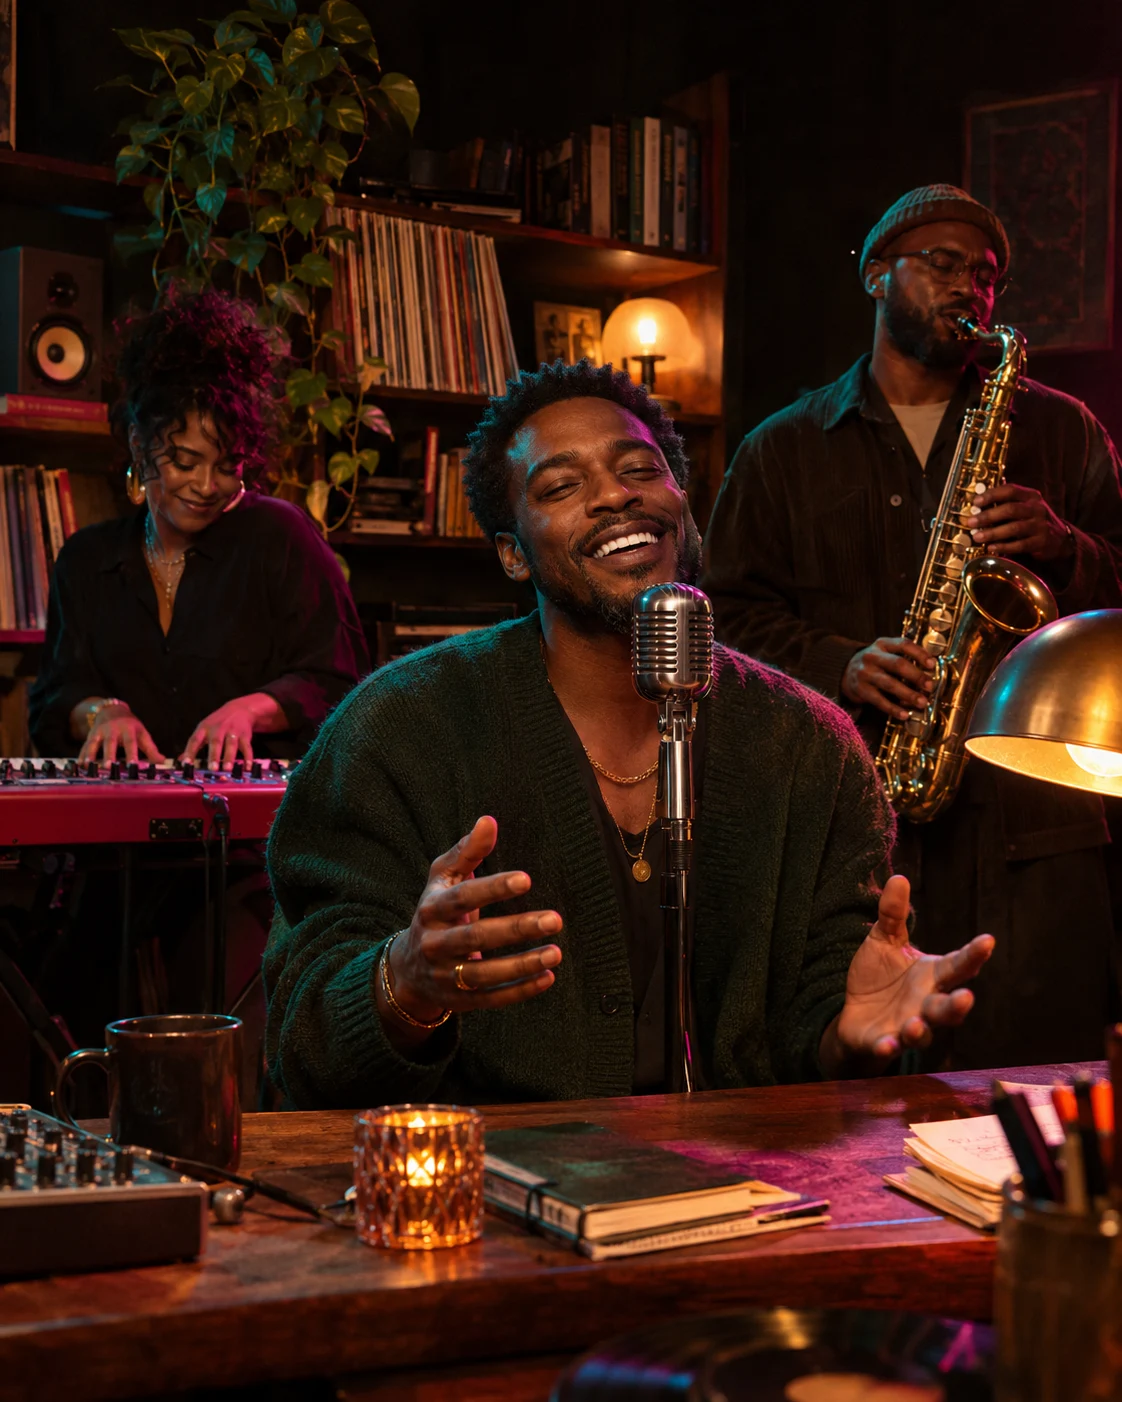
1. Start with the right photo
Choose one well-lit, front-facing portrait for the lead singer. Keep the eyes visible, leave a little room around the head and avoid a photo with multiple faces. In this studio, supported formats are JPG, PNG and WebP, up to 8 MB per photo.
2. Choose the feeling of your session
The Soul Session is warm and relaxed. The Outstanding Moment is a playful take on the desk-concert meme. The Indie Room is a quieter acoustic direction. The artworks are concept art, not examples of completed AI videos.
3. Give your friends a part
A lead photo is required to save a draft. You can add two more consenting adults to the optional band roles. Separate portraits make it easier to assign each person. Use only photos you have permission to use.
4. Choose a format and save a draft
Choose 9:16 for a vertical composition or 16:9 for a wider scene. Give your session a name, confirm photo permission and save. We store only your title, chosen template, format and cast count. You will need to select the photos again if you return later.
5. What happens next?
The studio displays current video availability. When enabled, sign in with Google and choose a video pack if you need credits. Each generation uses 1 credit. Review the output specifications, confirm photo processing and choose Generate my video. Your videos shows progress and the result. A confirmed failed generation returns the credit automatically. Saving a draft is separate and never uploads photos.